UPDATE: Alex Sidorov has donated some updates to the dat files etc. These improve the functionality and mean that the dat file is now selectable, rather than having to replace the existing file. The files are on the "Essential Lowrance Stuff" page. There is also a Russian translation of the script notes. Have a play with these files.
Software
You will need version 2 of GPSMapedit, licenced as you need to be able to export shapefiles. Its cheap and well worth the few bucks.
You will also need to have installed the Insight Map Creator , and have it set up as you want it. Its probably best to have the Atlas version set to 10.
You can download zero contour lake outlines FREE from HERE for the USA and save a bit of work. These load straight into GPSMapedit if you don't want to make your own in the program.
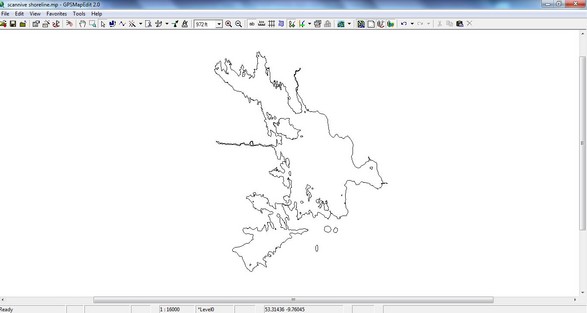
Setup GPSMapedit
First replace the file ShpDefault.dat (in the _ExportSchemas folder in the installation Folder of GPSMapedit) with the new version of AnglingCharts ShpDefault.dat HERE.This lets the application know about all the AT5 attributes, and is easily editable if you want to change something. Make sure to rename the old one first- preferably remove it to a safe backup.
Next open the program. Ensure that the typeset is set to "Garmin" (file- map properties - header tab) and load up this testfile HERE (important)- first you'll have a confusing screen of red polygons, now go to Tools - Options - view - Mapskins -add, and add the.........
AnglingCharts skinfile that you find HERE
This gives you all your custom objects for the AT5 format, and your screen should suddenly become sensible and organised - looking more like a map.
All the objects you will need are in the testfile.
The skinfile is now loaded and will remain, there is no need to repeat this operation unless you change the description of an object in the skinfile. You can now hit "file - new" and start making charts, or close the application.
NOTE. The shpdefault.dat and AnglingChartsSkin files are updated very regularly at the moment, so always make sure you have the latest version.